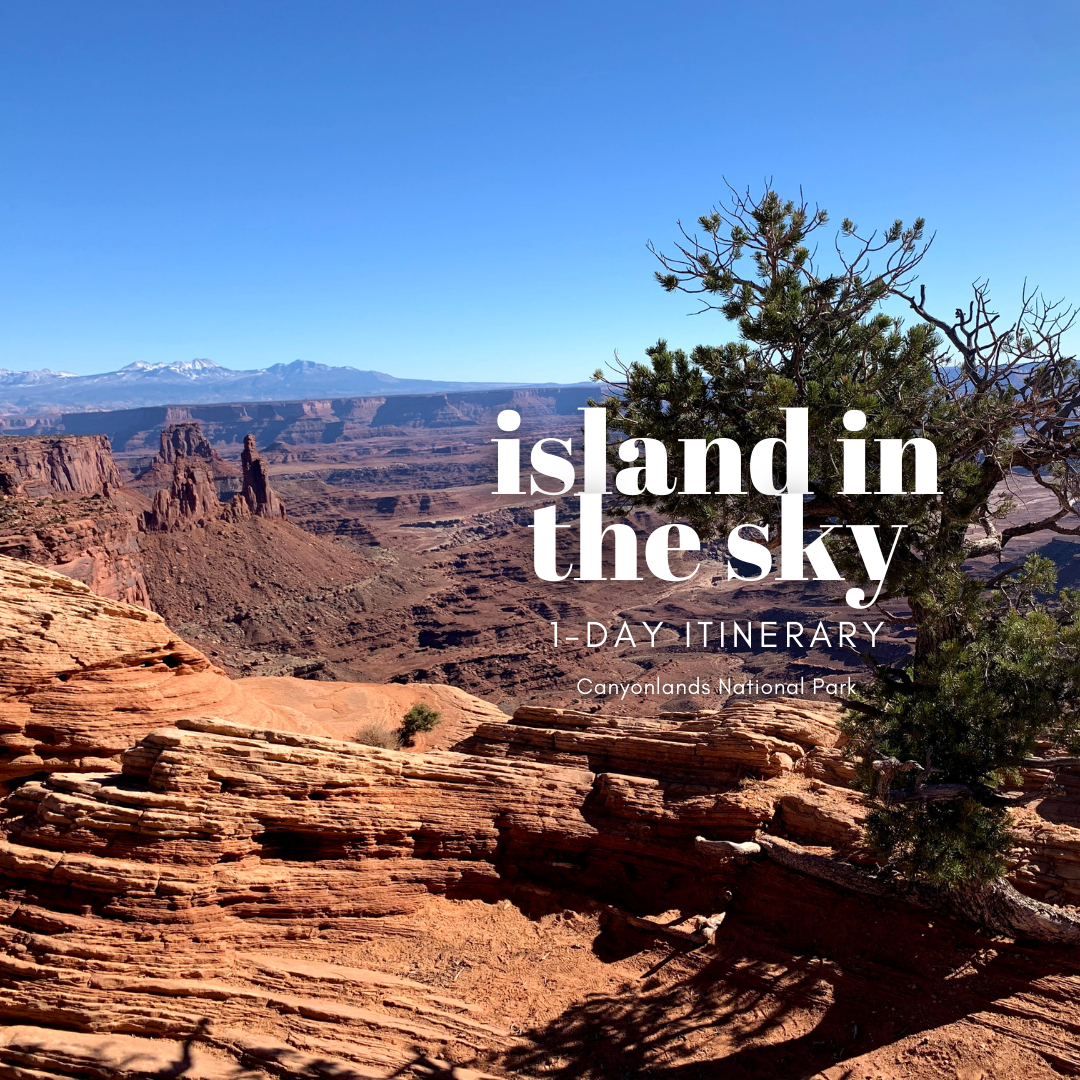
One day in the Island in the Sky District of Canyonlands National Park does not seem like enough time to explore.Sometimes that is all the time you have though.If you’re planning to visit this beautiful park, here is everything you need to know to have an amazing day in the park.
Start with the Sign
I can not even begin to tell you how many pictures we have next to park signs. It’s always the first thing we do when we enter the park. For us, it means the beginning of an adventure that is going to be amazing. Start yours off right and grab a pic.
Visitor Center
Stopping at the Visitor Center should be the next thing on your list. Things to do here: (1) Get a map (2) Talk to a ranger about what’s happening at the park. Sometimes there are unexpected trail or road closures so know before you go. (3) Get a Jr Ranger book. Even if you don’t have kids, there is a lot of great information in the books. (4) Support the park by getting a souvenir or two and round up your change when they ask so you can support the park even more!
Overlooks
Once you’re done at the Visitor Center, head to Grand View Point. This is the furthest point from the visitor center. From here you will work your way back to the entrance and maximize your time. Here’s a MAP for reference. After the Grand View, go to Orange Cliffs, Buck Canyon, and Candlestick Tower. Then, it’s time for some hiking!
Trails
Canyonlands has 18 trail options for you to choose from. With just one day, these are the ones you should definitely try to hike. TRAIL MAP
Mesa Arch
You’ve seen it all over social media and you probably feel like you’ve been on this trail because it is so popular. There’s nothing like seeing this beautiful arch in person though. The trail is a very popular sunrise hike and with limited parking, you better get there extra early if you plan to go then. This is definitely a trail you can do first (before the overlooks) because it’s on the main road in the park. Having options throughout your day is always the best.
This trail is an easy, 0.5 mile hike that should take between 30 min to an hour to complete. There is parking and restrooms which is always a great bonus. At the arch, you’ll get beautiful views, but make sure you don’t climb on the arch. It’s situated on the cliff’s edge and as people have climbed on it over time, it has become a fragile beauty. Protect the park and stay on the trail. More information HERE
Aztec Butte
Aztec Butte is a 2 mile, moderate hike that has two very special spots that you want to make sure you go to. The trail starts out in some sand so be ready to get that out of your shoes when you’re finished. (I’m not a fan of sand, can you tell?). At the 0.3 mile mark, the trail splits and you can go left to the Granary or right to Aztec Butte.
We chose to head to the Granary first. Follow the cairns for a short hike up the rock. Once it levels out, hike about 0.2 miles and the granary will be on the right. There’s a sign so you can’t miss it. You do have to take a few steps down because it is on the side of the rock, slightly hidden, which is how the Ancestral Puebloan people wanted it. Read more about the amazing history of these structures HERE Once you’ve explored the area, make your way back to the split and then head to Aztec Butte.
Once you’ve hiked another 0.5 miles, you’ll understand why this trail was named Aztec Butte. It’s hard to miss the mountain rising abruptly about the surrounding land (yea, that’s the definition of Butte I found in the dictionary). It’s a steep climb up to the top that you’ll need appropriate footwear for. Follow the cairns to the spectacular view at the top. Make sure you bring some water and a snack for this one. You’ll need it after the climb.
Upheaval Dome
If you’re looking for a very unique view in Canyonlands, then head to Upheaval Dome for your next hike. The parking in this area can fill rather quickly so be prepared to snipe a spot so you can go on this trail. You have 2 options for hiking to this feature. The first is a 1 mile hike to the first overlook. It’s a steep trail, but you get a beautiful view into the dome. You can then add an additional mile and go to the second overlook which takes you an additional 50 feet higher above the dome. Both are great views so just choose what’s best for you. HERE is more information about Upheaval Dome and the theories on how it was formed.
If you still have time in your 1 day adventure, I would suggest the 1 mile hike to Whale Rock as well as stopping at Green River and Shafer Canyon overlooks before you exit the park. No matter how you choose to spend your day at Canyonlands’ Island in the Sky District, just remember to enjoy the moments. You’re at a beautiful National Park!
Consider the Wonders is a travel blog intended for entertainment purposes only. We are not RV, travel, or hiking experts and are not making recommendations.These are our opinions and you should do your own research and make your own decisions.
Consider the Wonders is not affiliated with Canyonlands National Park or the National Park Service.


Comments are closed