From the visitor center, drive all the way down the park road to Devils Garden area and start from here.
From the trailhead, hike to Landscape Arch and then on to Double O Arch. You can go back the way you came or make the loop. There are 5 additional arches to see on this trail if you so desire. Tunnel Arch, Pine Tree Arch, Partition Arch, Navajo Arch, and Private Arch.
Next, drive a short distance down the road to Skyline Arch. View from your vehicle or take the trail. Your choice.
Back on the road and another short drive to Sand/Broken/Tapestry trailhead. This is a loop trail with access to all three arches. You can also begin the hike from the Devil’s Garden campground.
Follow the signs off the main road to Wolfe Ranch and Delicate Arch. You can access both the trailhead to the arch and the viewpoints from here.
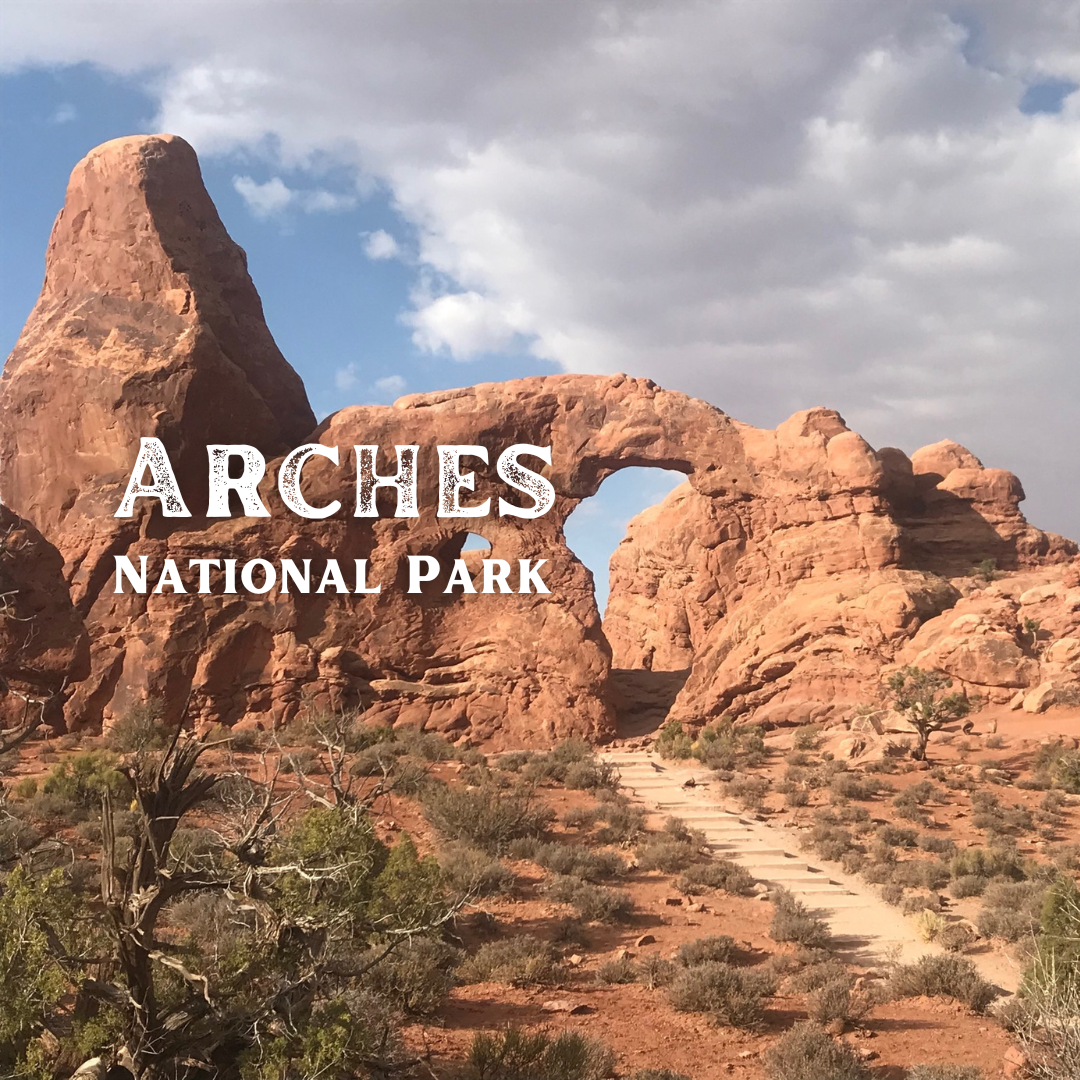
Another road to access from the main one and you can get to The Windows trailhead. Loop around both North and South Windows as well as Turret. Then, take the trail to Double Arch. Don’t miss Parade of Elephants on the way.
While not an arch, we can’t leave here without recommending that you take in the view of Park Avenue. It’s a great place to end your day.


Comments are closed